As a case manager for your firm, you will take on many of the tasks that come along with the various Qix features. Let’s get oriented!
- Sign in:
- https://qix.cloud/ [firm name] /backoffice
- Reception assigns in Qix
- Qix sends notification to client (automatic) – “You have a case event” + details
- Client is ported into Qix
- Case Mgr. checks “Assigned” Tab

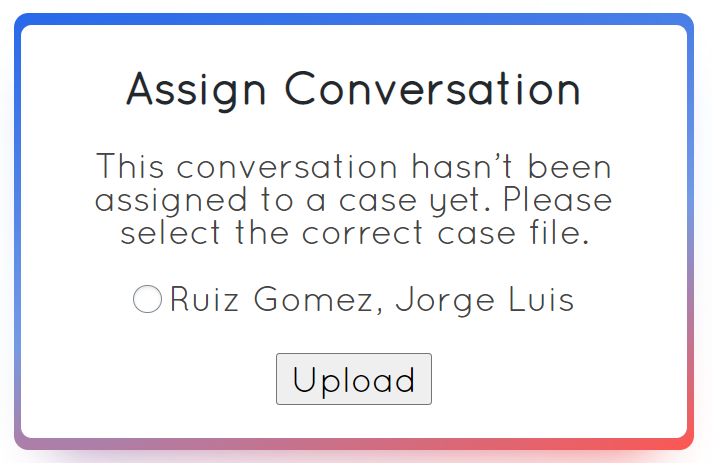
- Makes sure that case file is linked:
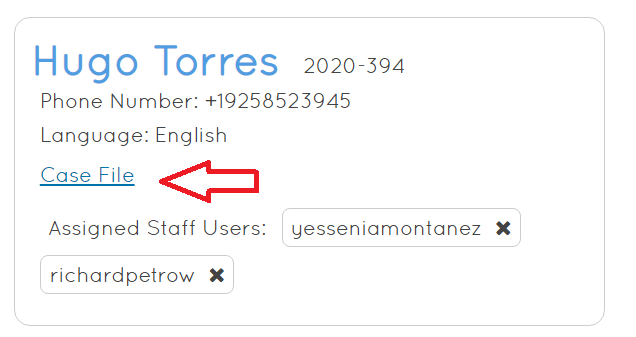
- If NOT linked, check in the right sidebar for an autofill option – select the case – and “upload.”
- In order to manually connect the conversation to the case file, click “+ Link Case File,” and enter in the multi-digit code in the MerusCase file link (as shown below).
- Copy and paste Case Number from MerusCase URL (6 characters)

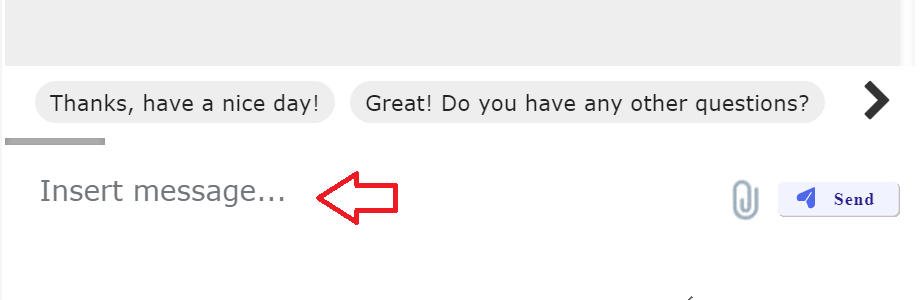
- Start conversation in chat:
- Download app
- “Please download the Eason & Tambornini mobile app to chat with us: https://qix.cloud/easontambornini/download-app/ “
- Event notifications
- “You will receive notifications about your case through SMS and through the E&T Law mobile app!”
- Be ready with XYZ documents
- “Please come prepared with the following items: Last two pay-stubs…”
- Request signature on contract
- Select “Get Signature”

- Type Message (Ex: “Please Sign this contract”)
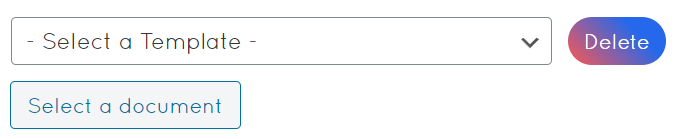
- Select a Template
- OR create new template by clicking “Select a document” and picking that file from your computer

- Create New Template:
- Once documents has been selected, RIGHT CLICK in areas which require a signature, initial, date, or name:

- If you wish to use this template again, click “Save as Template”
- Access this template and send it to any future client by choosing it under “Select a Template”
- Choose delivery method:
- App or SMS
- NOTE: You MUST choose SMS as the delivery method if the client has NOT downloaded your app yet!
- Click “Save” to send to the client
- App or SMS

- Wait for contract + signature
- Start chatting w/ client
- Chats uploaded automatically
- Check language preferences
- Start chatting w/ client
- Activate Client
- Once you have sent the client the link to download the app, you must activate that client in “Manager.”

- Find the client you are looking for (fill likely be listed at the top of the list as they appear in chronological order)
- If NOT activated yet, click “Option” button, then “Activate”

- Looking back at conversation in MerusCase
- Search for client in Communicate (by Phone # or Name)

- Click “Case File” link to be brought to MerusCase

- (in MerusCase): Case > Activity > Chat
NOTE: Chats are uploaded from Qix to MerusCase periodically each day to the case file.
Leave a Reply